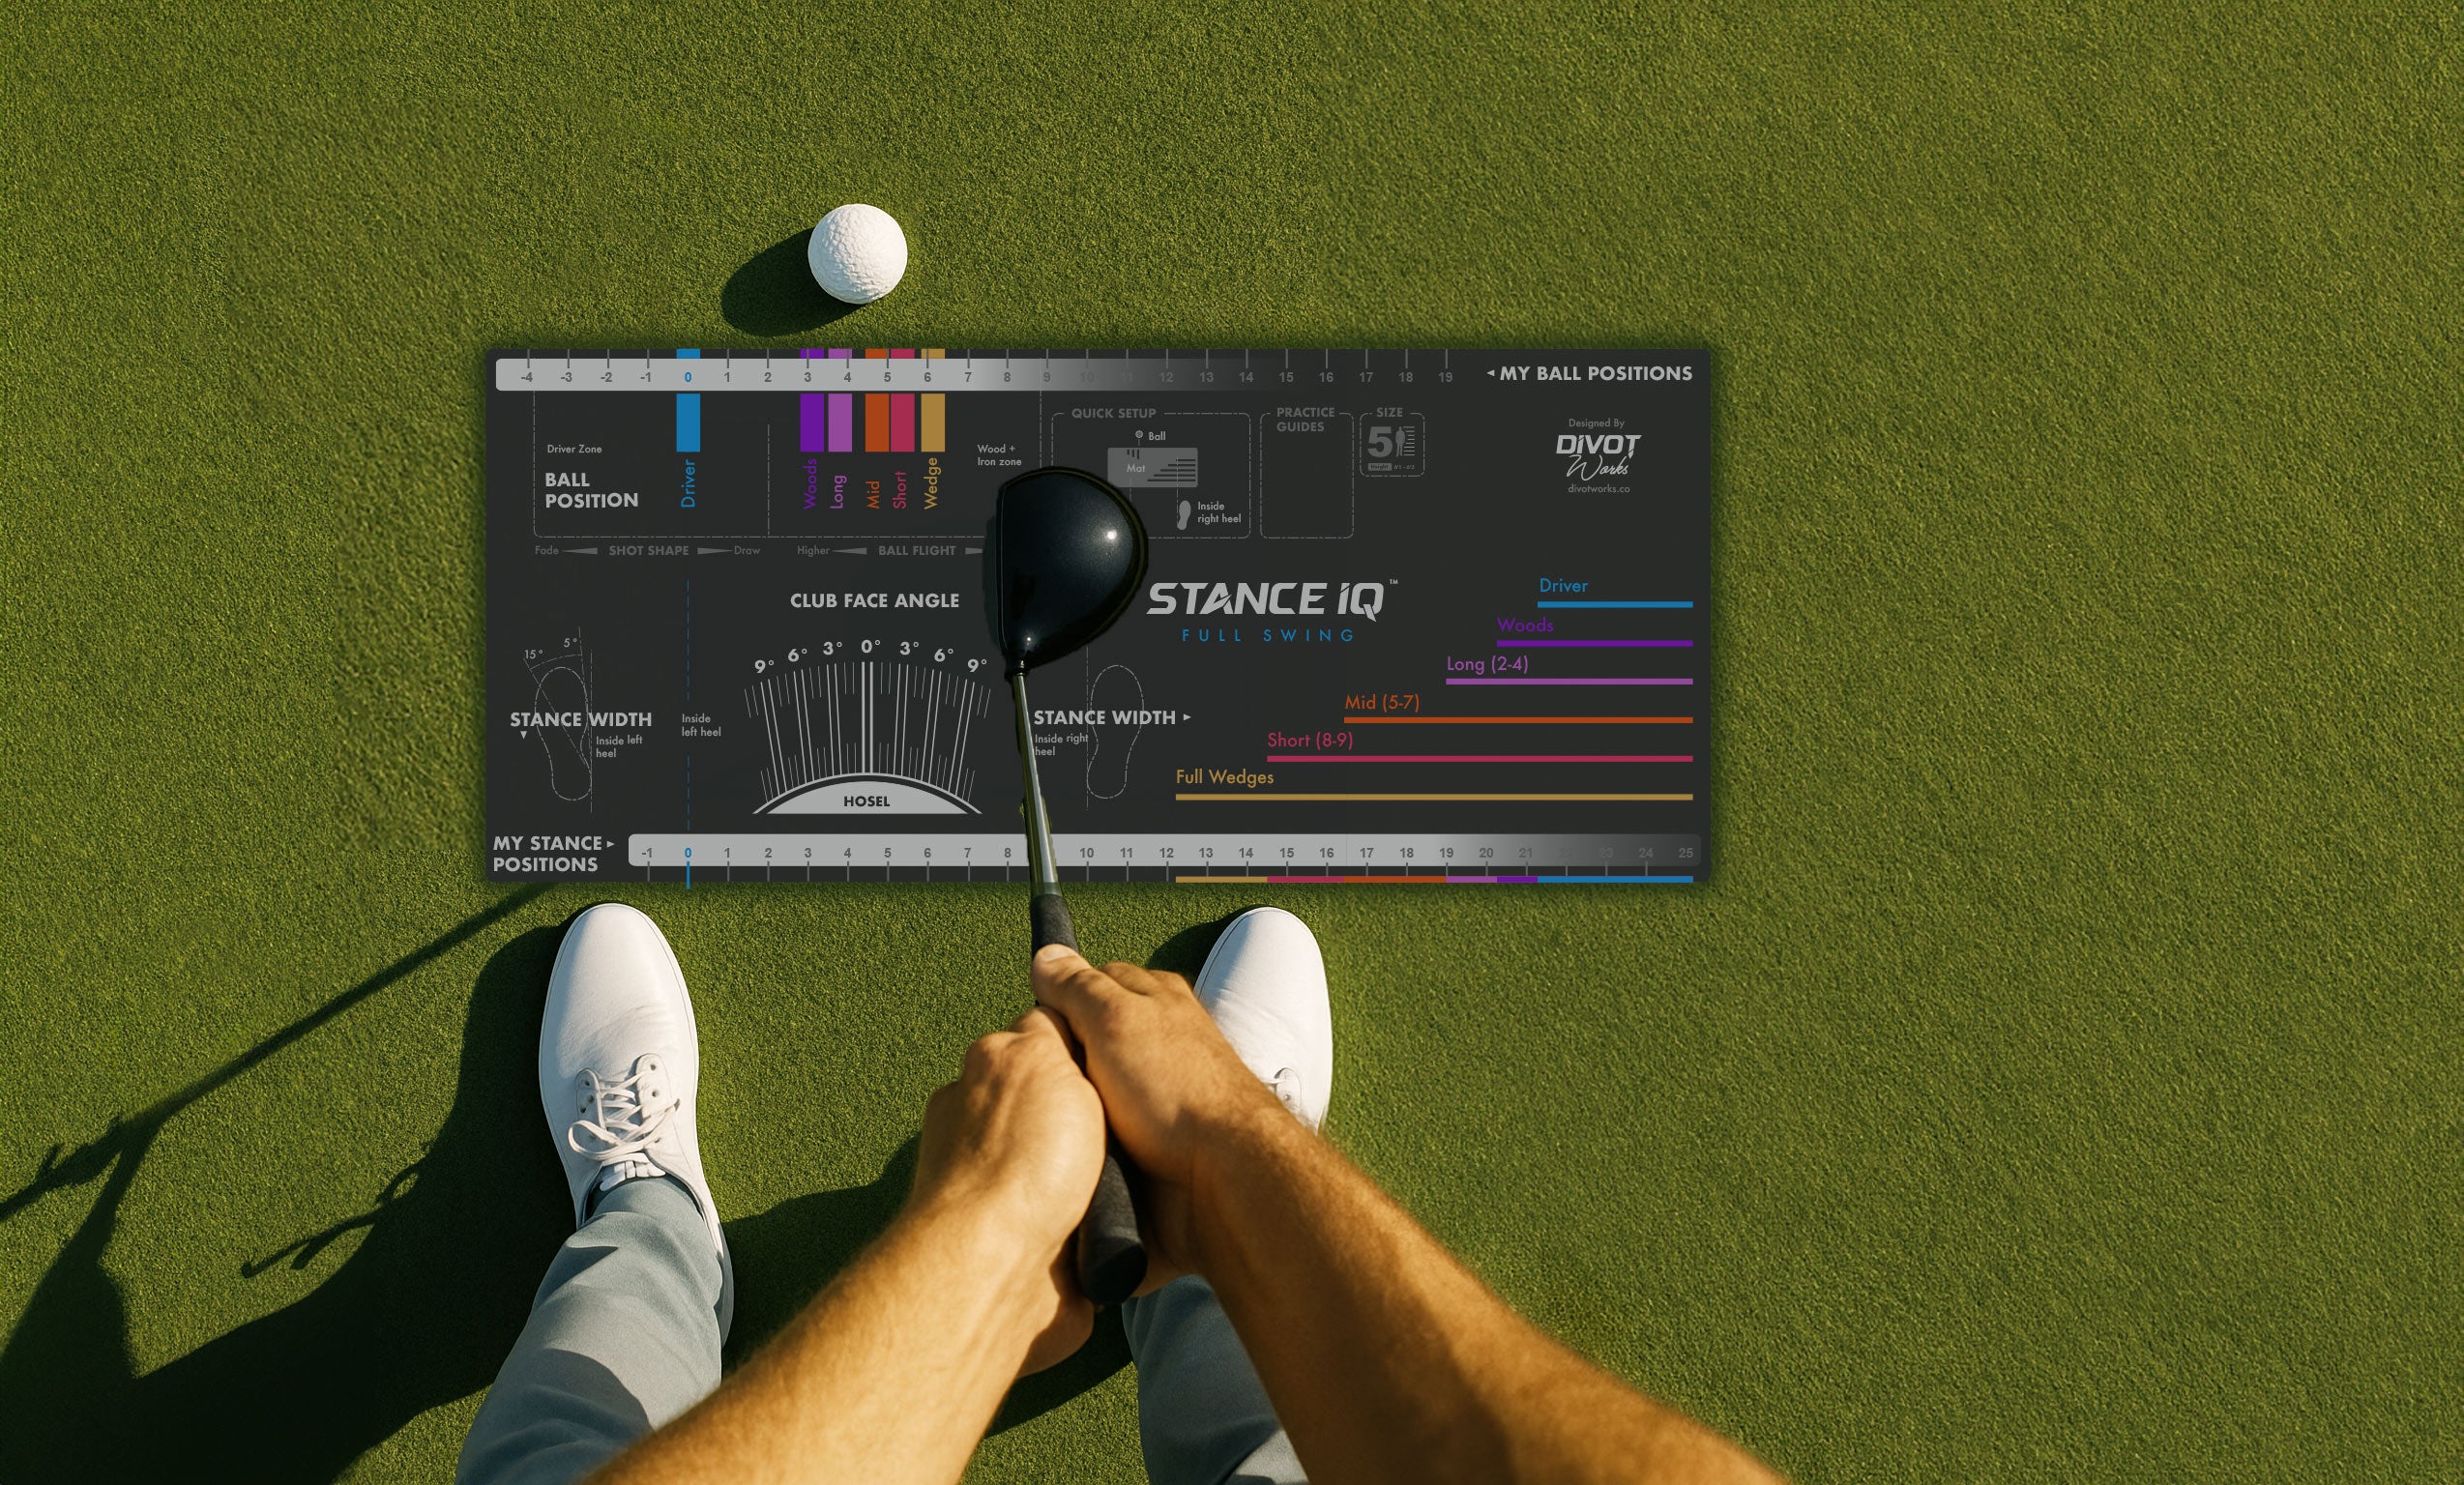
Setup Consistency Challenge
Who Is This Drill For?
Anyone who's already completed the setup of their mat, has hit with it enough to become familiar with their setup positions and are wanting to test their setup.
Equipment Needed
Stance IQ training mat
Chalk Pen
Golf towel or head cover
Hitting Net / Range / Sim
Skill Levels
All levels (Beginner - Expert)
Stage 1 - Testing Ball Position
The goal of this stage is to test your familiarisation with your preferred ball positions.
Step by Step
- Drop the mat between your feet and your hitting area and align with your target. Ensure you are not standing on or hitting off the mat.
- Cover your ball positions with a towel or head cover.
- Grab the club you want to test with and setup where you would normally hit from for that club.
- Ensure the inside of your left foot is aligned with the '0' marker on the bottom ruler.
- Place your rear foot where you would normally for that club, referring to your preferred stance width if needed.
- Move the ball into the ball position you think is correct for that club.
- Check your chosen ball position against the marked ball position by moving the towel or cover out of the way.
- Adjust the ball position if required before hitting your shot.
- Take note of how close your original ball position was to your preferred ball position. Were you forward or back and by how many ball widths or inches?
- Repeat for one or more other clubs before returning to this club to test again.
Note: A great way to do this drill is during a simulated round, where you are only hitting one shot with each club (we hope!).
Stage 2 - Testing Stance Width
The goal of this stage is to test your familiarisation with your preferred stance widths
Step by Step
- Drop the mat between your feet and your hitting area and align with your target. Ensure you are not standing on or hitting off the mat.
- Cover your stance positions with a towel or head cover.
- Grab the club you want to test with and setup where you would normally hit from for that club.
- Ensure the inside of your left foot is aligned with the '0' marker on the bottom ruler.
- Place your rear foot where you estimate your preferred stance width should be.
- Move the ball into your preferred ball position for that club.
- Check your chosen stance width against your preferred rear foot stance position by moving the towel or cover out of the way.
- Adjust your rear foot position, if required, before hitting your shot.
- Take note of how close your original rear foot osition was to your preferred stance width. Were you narrower or wider and by how many inches?
- Repeat for one or more other clubs before returning to this club to test again.
Note: A great way to do this drill is during a simulated round, where you are only hitting one shot with each club (we hope!).
Stage 3 - Combined Test for Ball Position & Stance Width
You can obviosuly test yourself for ball position and stance width at the same time, by covering both. However, this is significantly harder, so make sure that you are getting reasonably good accuracy from your ball position test and stance width test before combining the two.
Discover More Practise Guides
View All Guides-

Calibration Before A Round
View GuideHeading into an important round or tournament? Take your preferred setup positions to the course with a quick refresher.
-

Chase The Ball Drill
View DrillWork on your weight transfer and low point control to improve your strike and ground contact through this skill-based drill.
-

Clubface Angle Drill
View DrillExplore the effect of changing your clubface angle at address and what effect that has on your ball start direction and shot shape.

Stance IQ
Your go to training tool for perfecting your setup and improving your consistency across the bag.


